EN BLOGGER -
Today I bring a very interesting tutorial on how to add & customize the read-more button for blogger.*****
El día de hoy les traigo un tutorial sobre cómo añadir y personalizar el botón Leer Más en blogger.
Leer en Español Read in English

Hubo un tiempo en el que me demoré unos tres días hallando el código y estoy muy feliz de llegar a compartirlo con ustedes. Aquí vamos:
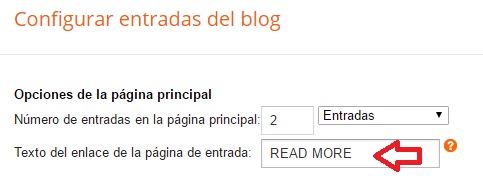
- Para agregar el botón "Leer Más" en las entrados vamos a Diseño>Entradas de Blog>Editar. Colocamos el texto que deseamos ver como lo indica la imagen y guardamos.
- Luego ingresamos a Plantilla> Editar HTML y buscamos con Ctrl+F ]]></b:skin> y pegamos el siguiente código encima de este y le damos en Guardar Plantilla.
.jump-link{
font: normal 12px Lora, serif; Fuente y tamaño del Texto
letter-spacing: 2px;
text-align: center;
text-transform:uppercase;
margin-top: 40px;
margin-bottom: 60px;
}
.jump-link a{
color:#FFF; Color texto
background:#000; Color fondo del texto
border:1px solid #ddddd3; Color del borde
padding:12px 30px; Espaciado alrededor del texto
}
.jump-link a:hover{
color: #000; Color del texto al pasar el cursor
background:#fff; Color de fondo al pasar el cursor
border:1px solid #ddddd3;
text-decoration: none;
}
- Al configurar el código en nuestro blog, podremos ingresar a crear una nueva entrada, en esta se le insertará salto de línea al texto que quieras enseñar en la página principal que dará que puedes agregar siguiendo estos pasos.
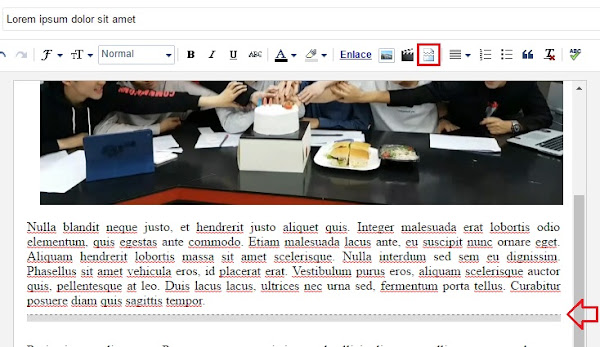
Antes del código:
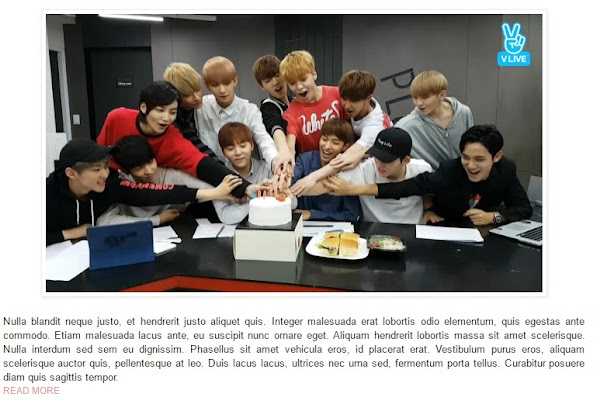
Como quedará después:

Si prefieres que el botón quede en todo el ancho del post, entonces agrega este código:
.jump-link > a {
color: #4d4646; Color texto
display: block;
font: normal normal 16px Ovo, serif; Fuente y tamaño del Texto
padding: 10px 0;
text-transform: uppercase;
width: 100%;
letter-spacing: 2px;
background: #cecece; Color fondo del texto
width: 100%;
text-align: center;
}
.jump-link > a:hover {
color: #ffffff; Color del texto a pasar el cursor
background: #b3b3b3; Color de fondo al pasar el cursor
width: 100%;
text-align:center;
}
Y quedaría así:
Bueno y eso es todo, espero que les haya gustado este tutorial de blogging. Avísame si tienes algún problema con el código o si te ha funcionado. Felíz día
I understand the feeling on trying to find some codes on the net for you blog and specially this one, so Im very happy to share it with you. Lets Start!
- To add the "Read More" button to your posts go to Layout>Select Edit on Blog widget and change the text as you want.
- Go to Template > Edit HTML . Press CTRL+F to open the search box and find ]]>/b:skin> and paste the following code above of it.
.jump-link{
font: normal 12px Lora, serif; / * Font and text size * /
letter-spacing: 2px;
text-align: center;
text-transform:uppercase;
margin-top: 40px;
margin-bottom: 60px;
}
.jump-link a{
color:#FFF; Text color
background:#000; Text background color
border:1px solid #ddddd3; Border color
padding:12px 30px; Spacing Around Text
}
.jump-link a:hover{
color: #000; Text color on hover
background:#fff; bakground Colour On Hover
border:1px solid #ddddd3; Border colour on hover
text-decoration: none;
}
- Then go on your blogger dashboard and create a new post, put your cursor where you want the Read more text to go and click on the Insert Jump Break.
and there you have it, your button stylish:
Hope you like it this tutorial, Let me know on the comments if you have any problems with the code or if it worked.Bye bye
Bloglovin | Pinterest | Facebook | Twitter | Instagram |
Youtube
Fuente: este post proviene de Lifestyle with Danny, donde puedes consultar el contenido original.
¿Vulnera este post tus derechos? Pincha aquí.
Creado: